

A beginner craft with a decidedly non-craft-store finish.
Air-dry clay has two personalities. One is kindergarten. The other is the kind of sculptural object you might find in a very tasteful design store. The material is essentially the same; the difference is shape, finish and how little you try to do.
For a first project, skip tiny mushrooms and complicated figurines. Make something useful or almost useful with a strong silhouette. These three projects — a ripple dish, a low candle pedestal and a tiny sculptural vase — are forgiving enough for beginners and restrained enough to live in an adult room.
Before you start: the five-minute setup
You need air-dry clay, a smooth bottle or rolling pin, a small bowl of water, a blunt knife or craft tool, fine sandpaper and a protected work surface. Optional: acrylic paint, matte sealer and a candle cup insert if you are making the pedestal.
The most important rule is thickness. Aim for roughly 1/4 inch on flat pieces. Too thin and the clay warps or cracks; too thick and it takes forever to dry.
Project 1: The Ripple Trinket Dish
Roll a ball of clay into a small slab, then cut or press it into an imperfect oval. Lift the edge gently in four or five places to create a soft ripple, as if a sheet of fabric had been frozen in place. Smooth obvious cracks with a damp fingertip, but do not overwork the surface.
Let it dry on a piece of paper or cardboard and turn it once the top has firmed. After it is fully dry, sand only the sharpest edges. A perfectly smooth surface can make handmade clay look oddly mass-produced; a little evidence of the hand is part of the appeal.
Make it look expensive
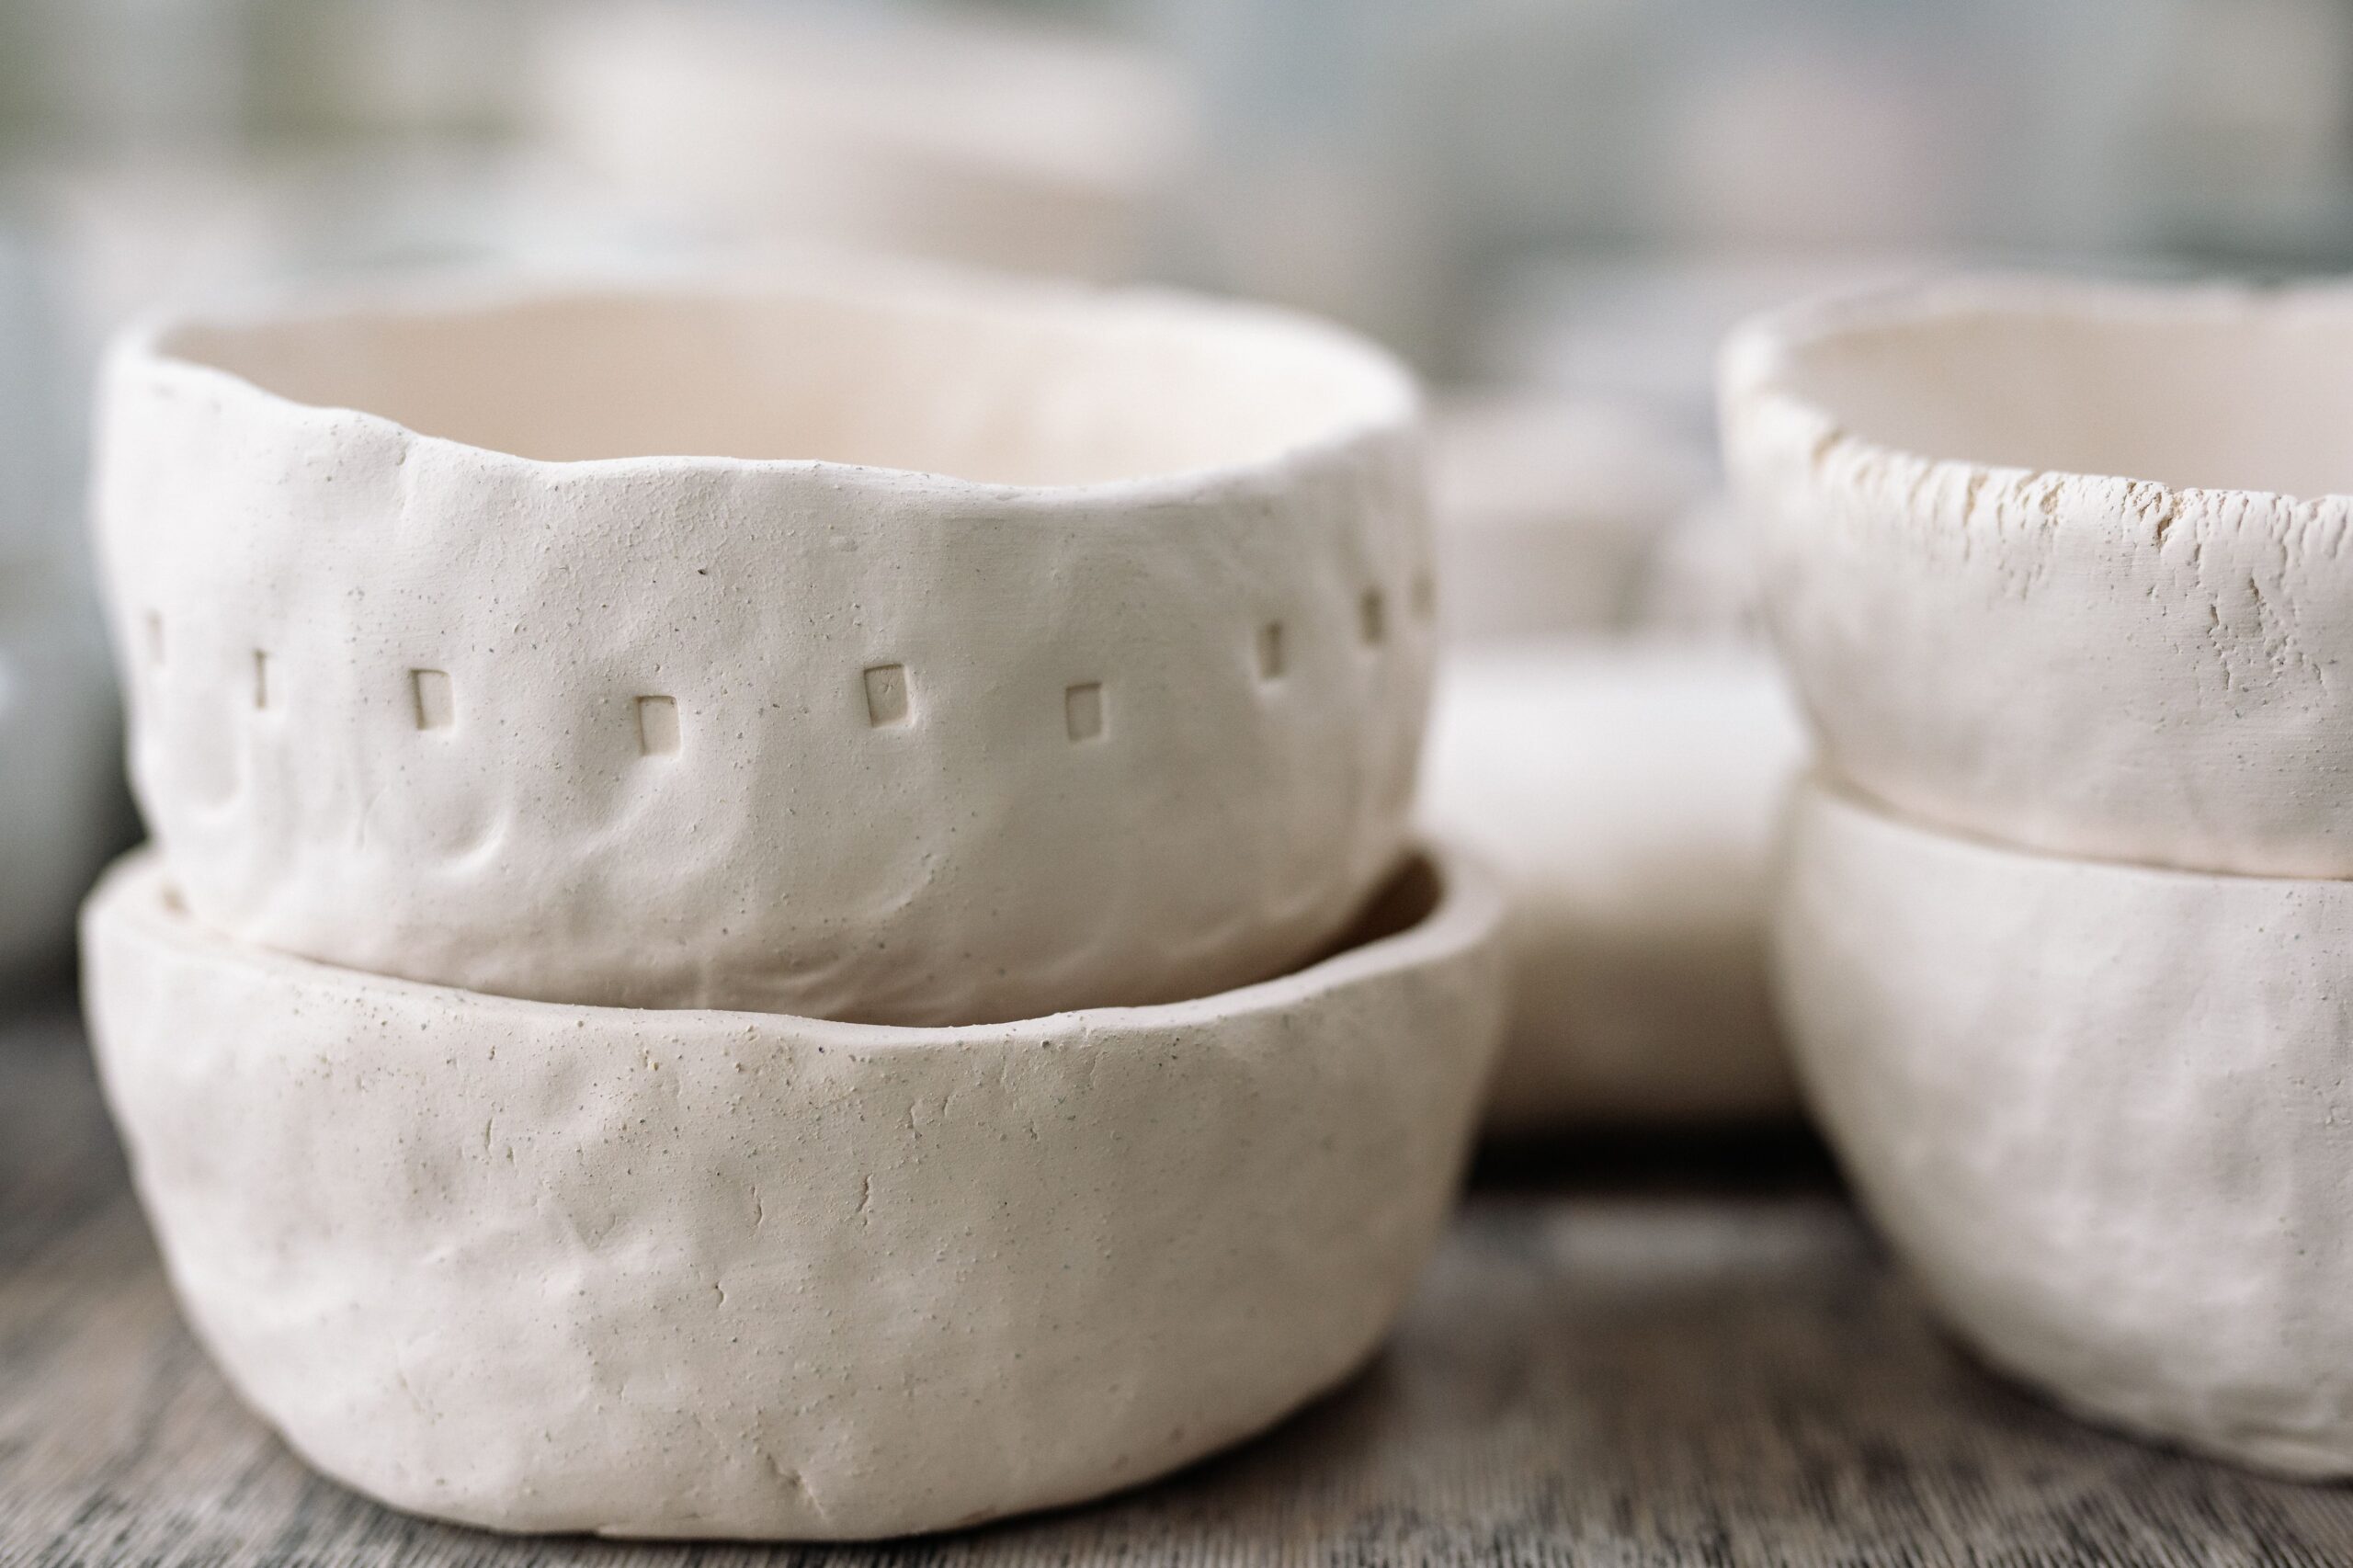
Paint it one color. Warm white, chalk, mushroom, oxblood or near-black all work. If you want depth, brush on a slightly darker wash and wipe most of it away so it remains in the low points.
Project 2: The Low Candle Pedestal
Make two simple shapes: a thick round base and a smaller raised disk. Score both joining surfaces with a fork or tool, add a tiny amount of water, and press them together. Smooth the seam enough to look intentional but keep the shape substantial.
If you plan to burn a candle, do not let flame sit directly against craft clay. Use the finished object as a pedestal for a contained candle, or build it around a proper heat-safe metal or glass insert according to the clay manufacturer’s guidance. Decorative use is the safest route.
Make it look expensive
Keep the profile low and architectural. A squat pedestal reads more sculptural than a tall candlestick when made from air-dry clay. Paint it in a matte stone shade and style it with a simple ivory candle.
Project 3: The Tiny Sculptural Vase
This one is technically a vessel-shaped object rather than a guaranteed watertight vase, which is useful to remember. Form a thick cylinder around a narrow temporary support, pinch the neck slightly, and add one asymmetrical handle or ridge. Let it dry completely before removing any support.
Use it for dried stems or place a small watertight glass tube inside if you want fresh flowers. The imperfect, slightly ancient shape is the point.
The easiest way to make a DIY look expensive is to stop decorating it before you feel finished.
The four finishes that work best
- Stone wash: warm taupe base with a slightly darker wiped-on wash.
- Chalky warm white: easiest, calmest, works almost anywhere.
- Oxblood: one deep glossy or satin color for a more editorial object.
- Near-black matte: best for a strong silhouette on pale shelves.
What makes air-dry clay look homemade — in the wrong way
- Too many colors on one small object.
- Very thin edges that warp while drying.
- Trying to make perfect symmetry without the tools for it.
- Adding patterns, lettering and motifs to an already interesting shape.
- Skipping sanding where an edge is actually sharp.
- Styling five DIY pieces together instead of letting one object breathe.
How to style the finished objects
The ripple dish belongs by the bed, on an entry console or beside a sink for jewelry. The candle pedestal works on a coffee table or dining table with books and one small bowl. The vase is strongest on a shelf with plenty of empty space around it.
Do not group all three together forever. Photograph them as a set for the Pin, then distribute them through the house. One handmade object among books, old wood, glass and metal looks collected. A whole shelf of matching DIY clay becomes a craft display.
That is the experiment here: can a casual craft produce something that actually improves the room? With air-dry clay, yes — if the shape does the talking and the finish knows when to stop.